
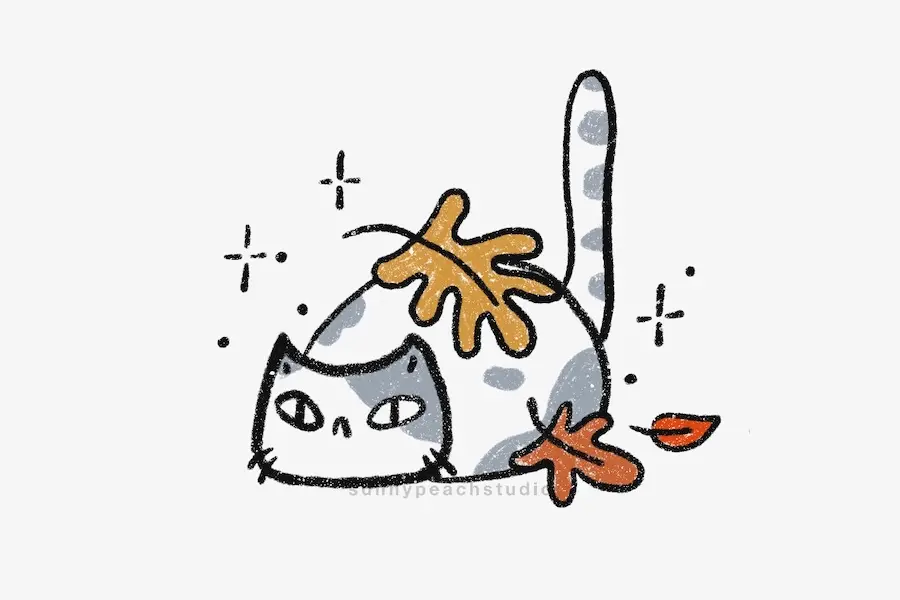
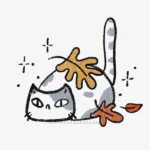
Today I’m drawing a little cat playing in a pile of fall leaves.
I wanted this one to feel cozy and playful, so I kept the shapes really simple. You don’t have to make your lines exactly like mine — little differences are what make each drawing feel like your own.
If you’re looking for more things to draw this season, you can also check out my easy fall drawing ideas for more cozy inspiration.
Drawing Tip: I like to start with a light pencil sketch first, especially when I’m figuring out the shapes. Once everything looks the way I want, I go over the lines with a pen or darker pencil and erase any extra sketch lines.
And most importantly, don’t worry about making your drawing look exactly like mine. A little wonky or uneven is completely fine — just have fun with it.
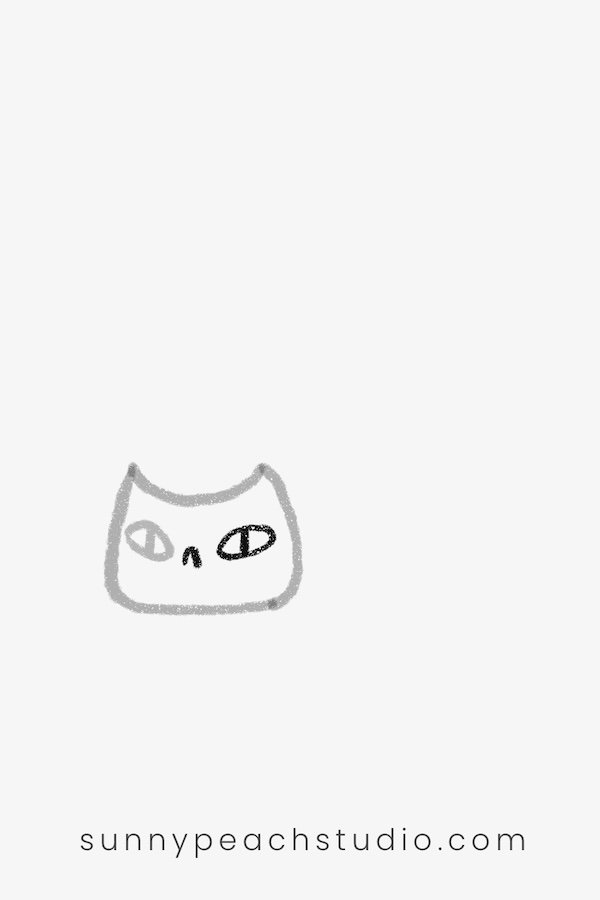
Step 1: Start with the cat’s head
Begin with a small curved line for the top of the cat’s head.

Then draw down one side and across the bottom. Add the other side to close the shape, leaving two little points at the top for the ears.
Your cat’s head should look a little like a soft rounded square.


Step 2: Draw the face
Add one almond-shaped eye and a vertical pupil.

Draw the second eye, then add a tiny nose in the middle.
I like keeping the face really simple here because we’ll add a few more little details near the end.
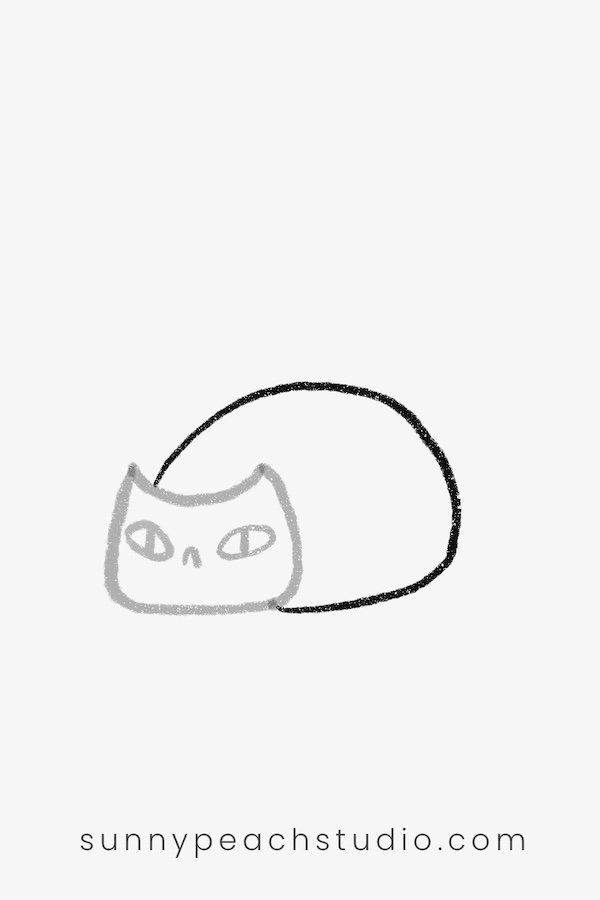
Step 3: Add the cat’s body
Starting near the top of the head, draw one big curved line around to create the cat’s back.
Bring the line down toward the ground beside the head.
Don’t worry about making the body perfectly round. A slightly uneven shape makes it feel softer and more hand drawn.
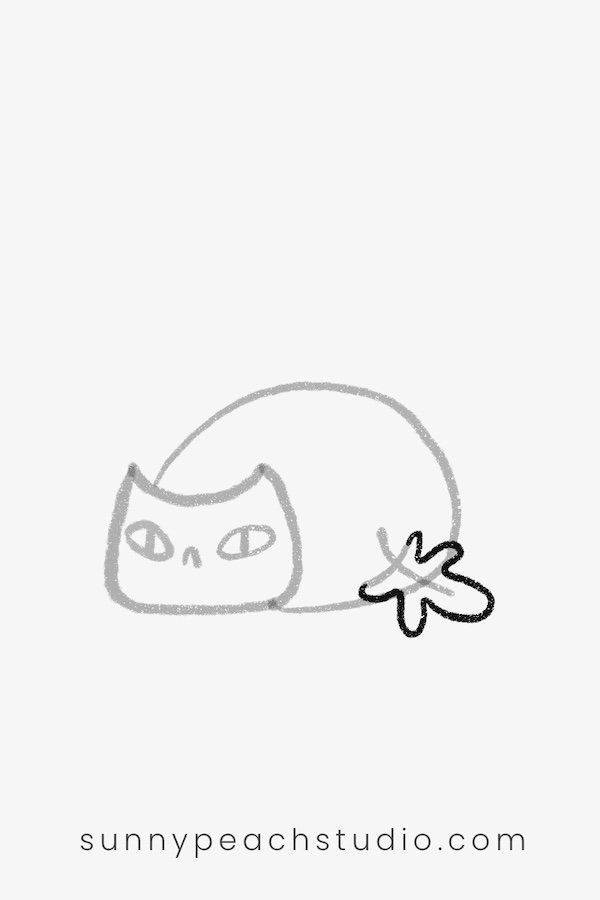
Step 4: Draw the first fall leaf
Near the back of the cat, draw two crossing curved lines.
I made one side shorter and one side longer to help guide the leaf shape.
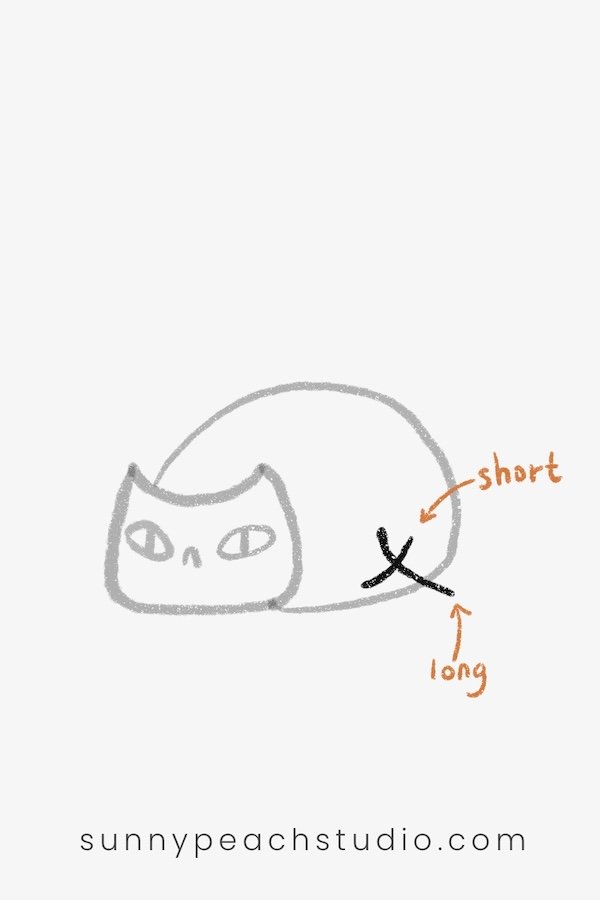
Draw a wavy leaf around those lines. This leaf will look like it is sitting partly in front of the cat.
Step 5: Add another leaf
Draw another pair of crossing lines over the cat’s back.
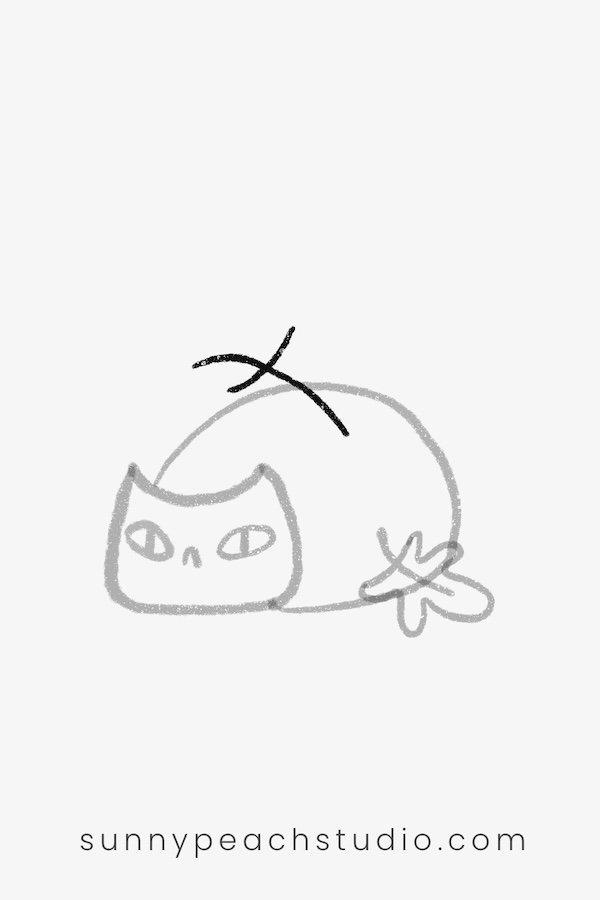
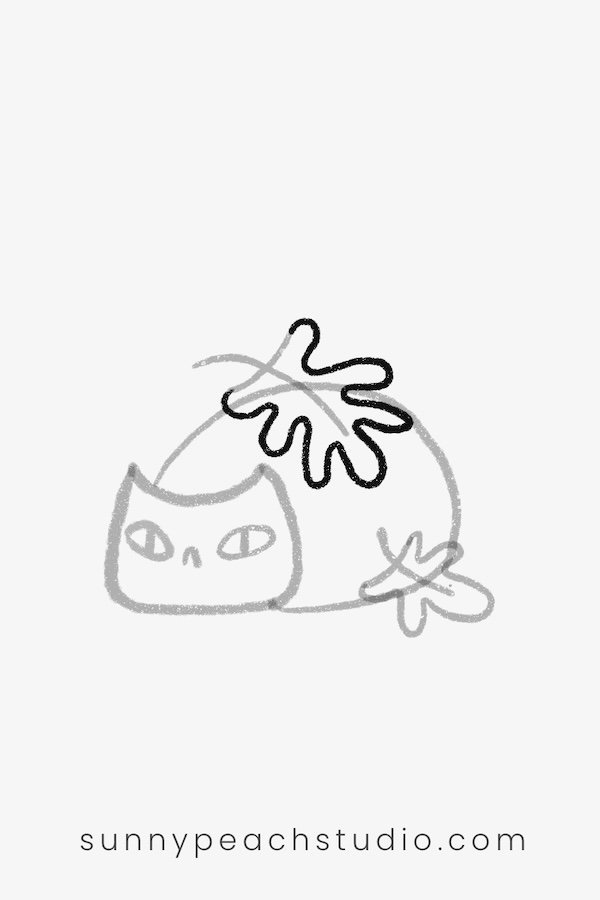
Then use those lines as a guide to draw another loose, wavy fall leaf.
The leaves definitely don’t need to match. I actually think they look cuter when they’re a little different.
Step 6: Add the tail and little cat details
Draw a long tail curving upward behind the cat.
Then add a few small details to the face — I added tiny marks inside the ears and a couple of whiskers on each side.
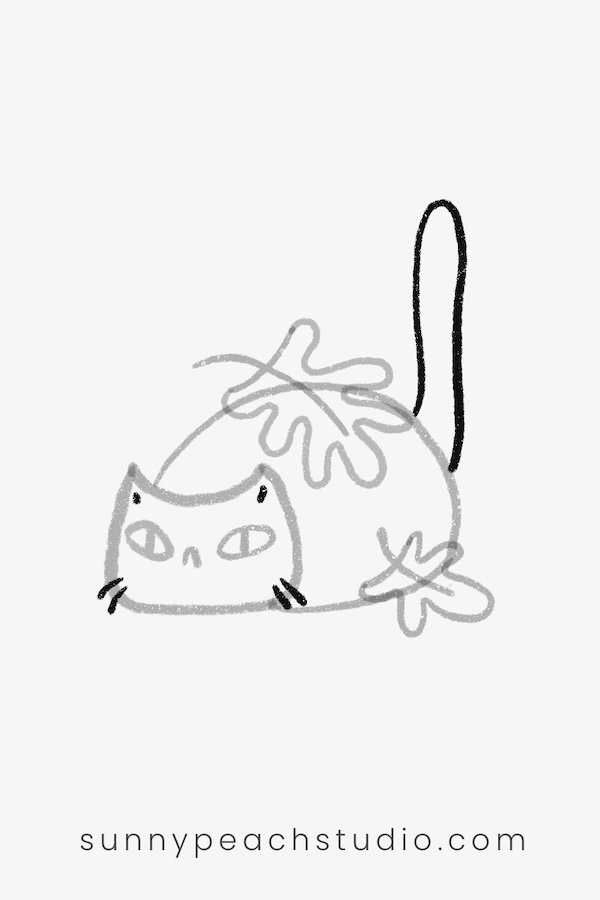
At this point, our cat is starting to look much more finished.
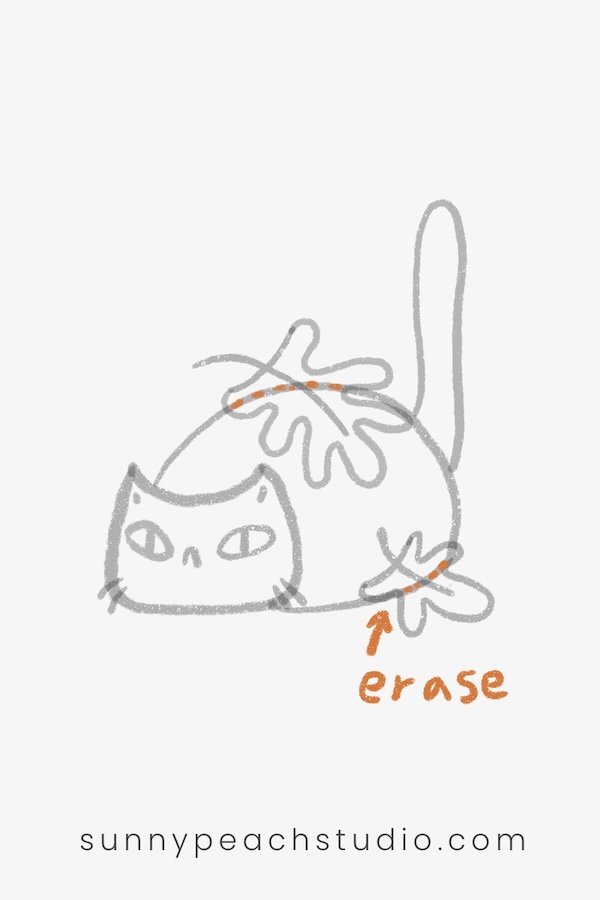
Step 7: Clean up the overlapping lines
Erase the parts of the cat’s body that run underneath the leaves.
This helps the leaves look like they’re actually sitting on top of and beside the cat instead of being drawn through it.
Step 8: Add the finishing touches
I added a few little dots, sparkles, and one small floating leaf around the cat.
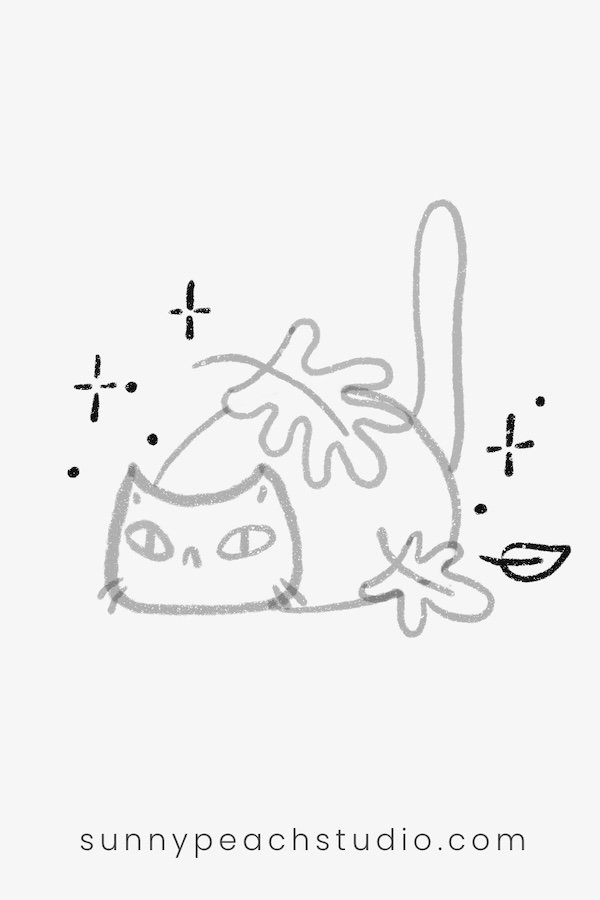
These are completely optional, but I think tiny details like these make a simple drawing feel a little more playful.
And that’s it!
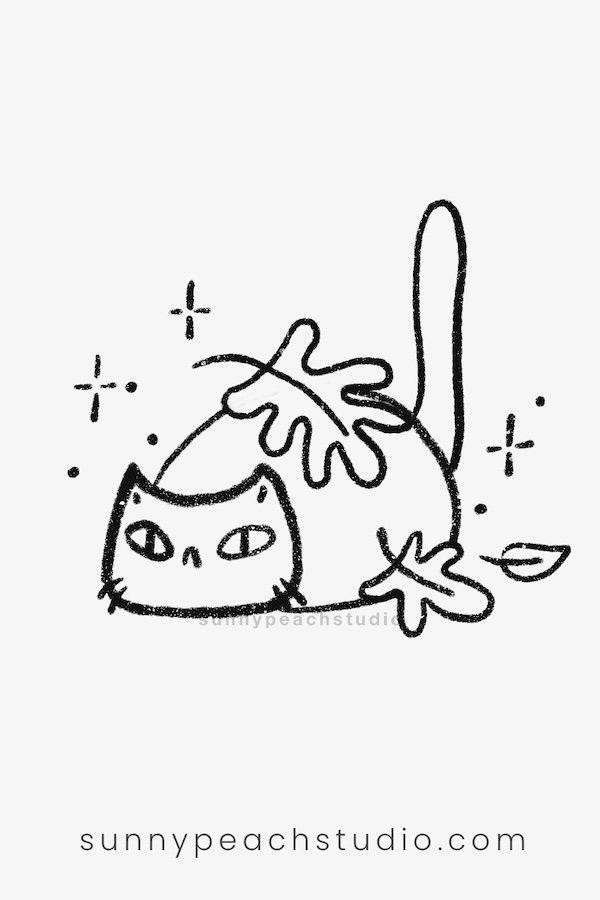
Add Some Fall Color
You can leave your drawing as a simple black-and-white doodle, or add some cozy fall colors.
For mine, I used soft gray patches on the cat and warm orange and golden colors for the leaves. You could also try brown, red, mustard yellow, or any fall colors you like.
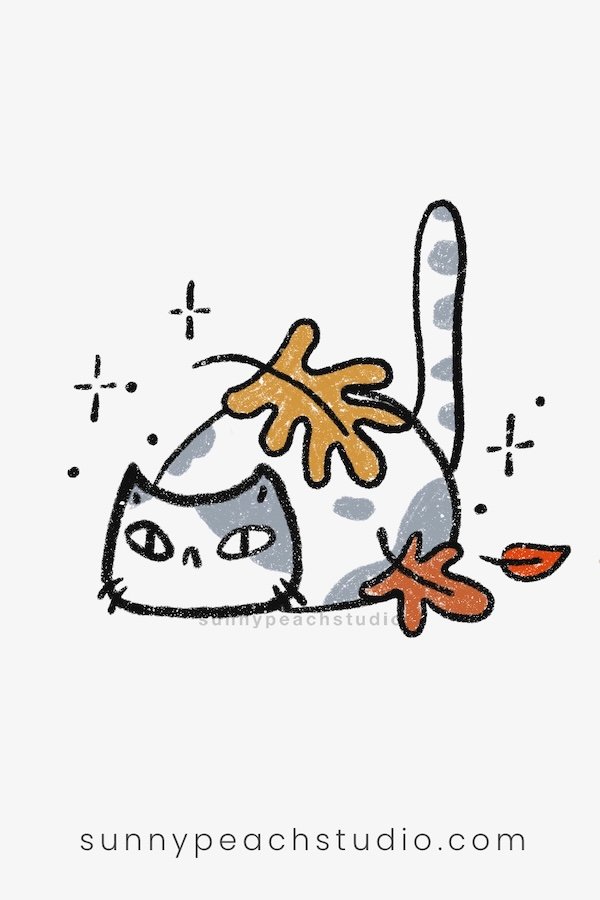
Coloring is always one of my favorite parts, because the same drawing can look completely different depending on the colors you choose.
I hope you enjoyed drawing this little fall cat with me!
Looking for More Cute Drawing Ideas?
If you enjoyed drawing this little cat, take a look at my 12 Cute & Easy Cat Drawing Ideas for more simple cat doodles to try.
You can also explore my 12 Cozy & Easy Fall Drawing Ideas for more easy seasonal drawings and cozy fall inspiration.


Leave a Reply